> ## Documentation Index
> Fetch the complete documentation index at: https://developers.podero.com/llms.txt
> Use this file to discover all available pages before exploring further.
# Get Access Token
> Generate an OAuth2 access token for API authentication
# Get Your Token
To get an access token and to be able to use the API, you need to make a request to the token endpoint with a Basic Auth header using your base64 encoded client ID and secret.
Remember to replace the subdomain if you're in a sandbox environment.
## Encode Your Credentials
You will probably need to use a base64 encoder to get the encoded string. For example, DevToys is a useful tool:
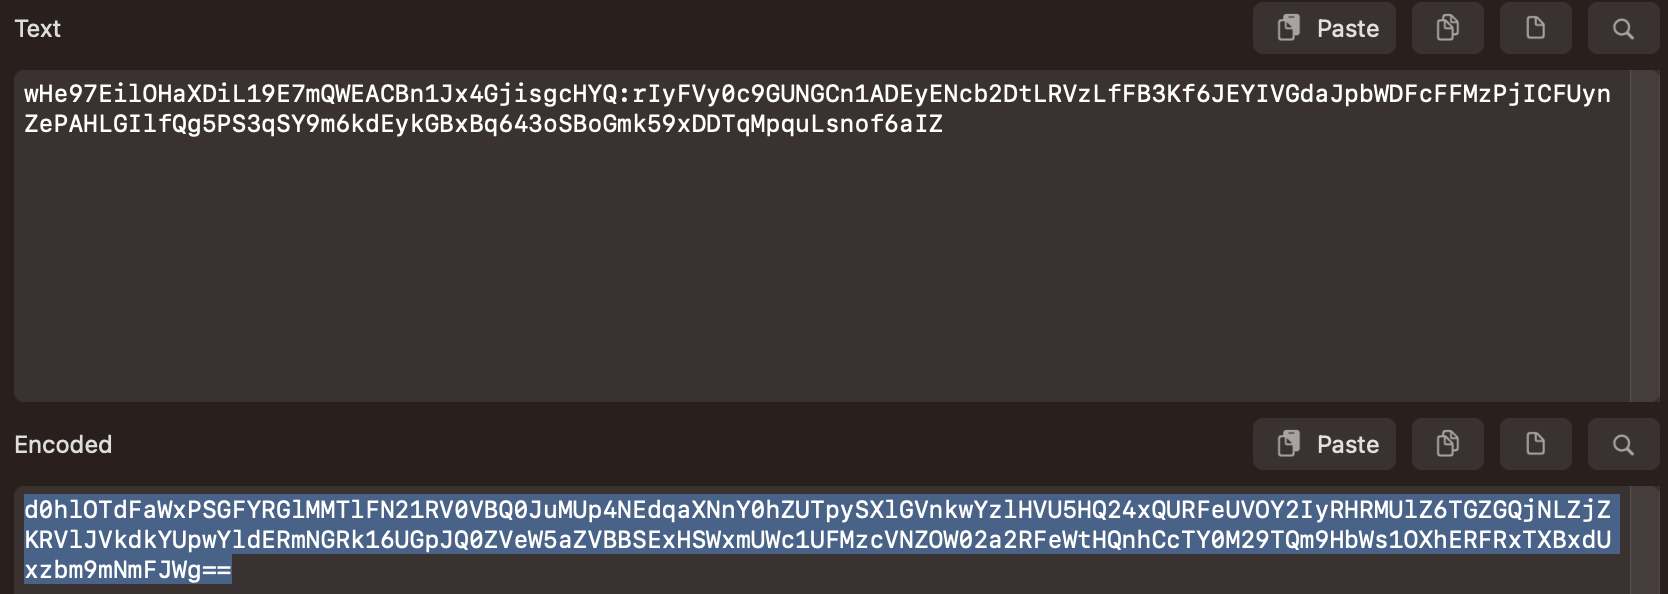 The format to encode is: `client_id:client_secret`
## Request an Access Token
```bash cURL theme={null}
curl -X POST \
'https://app.podero.com/oauth2/token/' \
-H 'Authorization: Basic base64_encode(client_id:client_secret)' \
-H 'Cache-Control: no-cache' \
-H 'Content-Type: application/json' \
-d '{
"grant_type": "client_credentials"
}'
```
```python Python theme={null}
import requests
import base64
# Your credentials
client_id = "your_client_id"
client_secret = "your_client_secret"
# Encode credentials
credentials = f"{client_id}:{client_secret}"
encoded = base64.b64encode(credentials.encode()).decode()
# Request token
response = requests.post(
'https://app.podero.com/oauth2/token/',
headers={
'Authorization': f'Basic {encoded}',
'Cache-Control': 'no-cache',
'Content-Type': 'application/json'
},
json={'grant_type': 'client_credentials'}
)
data = response.json()
access_token = data['access_token']
print(f"Access Token: {access_token}")
```
```javascript JavaScript theme={null}
const clientId = 'your_client_id';
const clientSecret = 'your_client_secret';
// Encode credentials
const credentials = btoa(`${clientId}:${clientSecret}`);
// Request token
const response = await fetch('https://app.podero.com/oauth2/token/', {
method: 'POST',
headers: {
'Authorization': `Basic ${credentials}`,
'Cache-Control': 'no-cache',
'Content-Type': 'application/json'
},
body: JSON.stringify({ grant_type: 'client_credentials' })
});
const data = await response.json();
const accessToken = data.access_token;
console.log('Access Token:', accessToken);
```
## Response
You will receive a response containing an access token, as well as the expiration time:
```json theme={null}
{
"access_token": "PaZDOD5UwzbGOFsQr34LQ7JUYOj3yK",
"expires_in": 36000,
"token_type": "Bearer",
"scope": "read write"
}
```
Your API access token. Use this in the Authorization header for subsequent requests.
Token expiration time in seconds (typically 36000 = 10 hours).
The type of token, always "Bearer".
The scopes granted to this token.
Make sure you store these credentials securely and refresh the token in a timely manner to avoid losing access to the API.
## Using the Token
From now on, include the access token in a "Bearer" authorization header for all API requests:
```bash theme={null}
Authorization: Bearer {auth_token}
```
## Next Step
Create your first end-user account
The format to encode is: `client_id:client_secret`
## Request an Access Token
```bash cURL theme={null}
curl -X POST \
'https://app.podero.com/oauth2/token/' \
-H 'Authorization: Basic base64_encode(client_id:client_secret)' \
-H 'Cache-Control: no-cache' \
-H 'Content-Type: application/json' \
-d '{
"grant_type": "client_credentials"
}'
```
```python Python theme={null}
import requests
import base64
# Your credentials
client_id = "your_client_id"
client_secret = "your_client_secret"
# Encode credentials
credentials = f"{client_id}:{client_secret}"
encoded = base64.b64encode(credentials.encode()).decode()
# Request token
response = requests.post(
'https://app.podero.com/oauth2/token/',
headers={
'Authorization': f'Basic {encoded}',
'Cache-Control': 'no-cache',
'Content-Type': 'application/json'
},
json={'grant_type': 'client_credentials'}
)
data = response.json()
access_token = data['access_token']
print(f"Access Token: {access_token}")
```
```javascript JavaScript theme={null}
const clientId = 'your_client_id';
const clientSecret = 'your_client_secret';
// Encode credentials
const credentials = btoa(`${clientId}:${clientSecret}`);
// Request token
const response = await fetch('https://app.podero.com/oauth2/token/', {
method: 'POST',
headers: {
'Authorization': `Basic ${credentials}`,
'Cache-Control': 'no-cache',
'Content-Type': 'application/json'
},
body: JSON.stringify({ grant_type: 'client_credentials' })
});
const data = await response.json();
const accessToken = data.access_token;
console.log('Access Token:', accessToken);
```
## Response
You will receive a response containing an access token, as well as the expiration time:
```json theme={null}
{
"access_token": "PaZDOD5UwzbGOFsQr34LQ7JUYOj3yK",
"expires_in": 36000,
"token_type": "Bearer",
"scope": "read write"
}
```
Your API access token. Use this in the Authorization header for subsequent requests.
Token expiration time in seconds (typically 36000 = 10 hours).
The type of token, always "Bearer".
The scopes granted to this token.
Make sure you store these credentials securely and refresh the token in a timely manner to avoid losing access to the API.
## Using the Token
From now on, include the access token in a "Bearer" authorization header for all API requests:
```bash theme={null}
Authorization: Bearer {auth_token}
```
## Next Step
Create your first end-user account